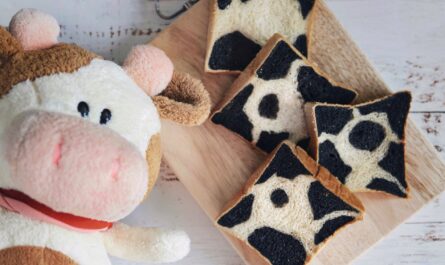
These fluffy loaves speckled with raisins were a cherished childhood snack. I can still remember the irresistible scent of freshly baked pandan bread that used to be a staple at ol’ school local bakeries. Alas, this nostalgic treat seems to have faded from existence.
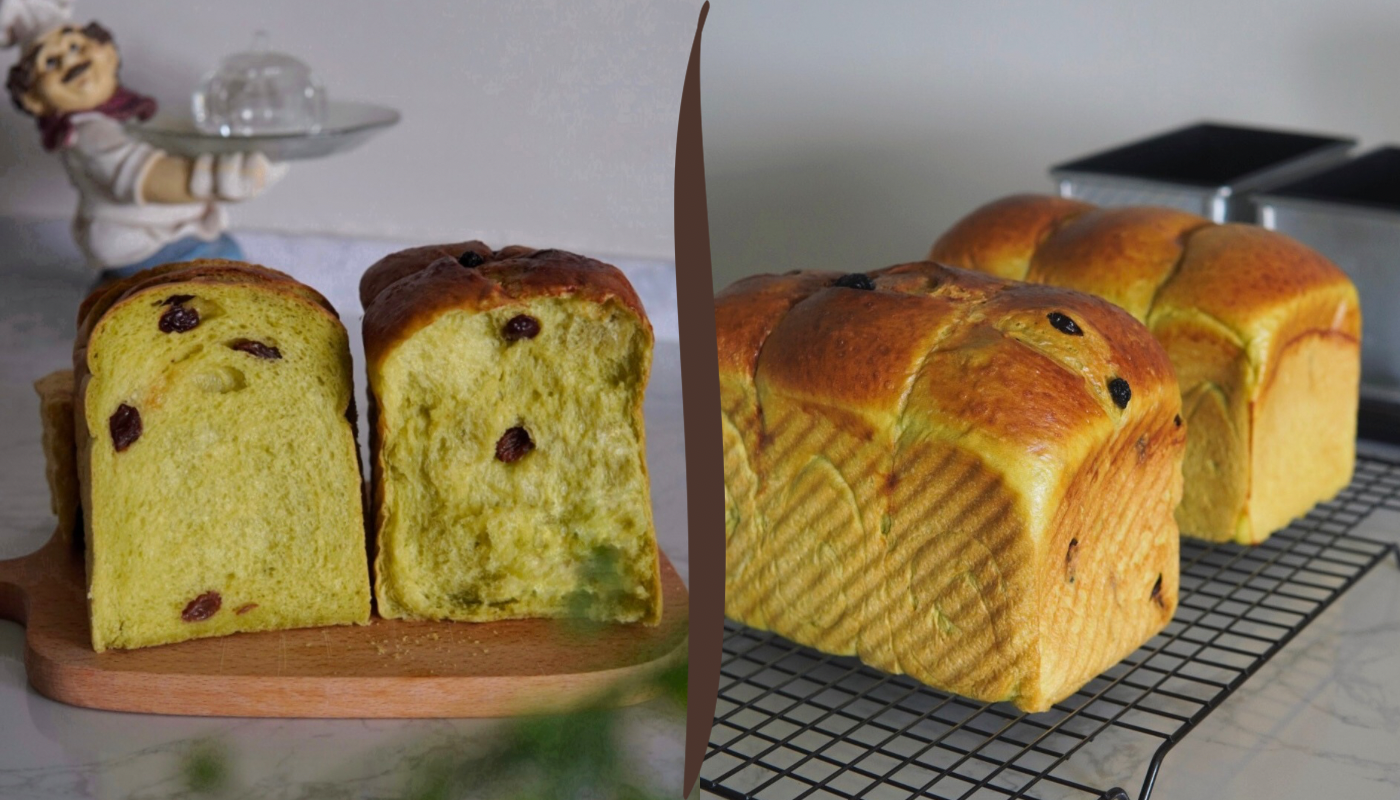
So this recipe post is my childhood fav reborn – soft, fluffy pandan bread, bursting with sweet raisins and infused with the alluring aroma of freshly made pandan juice.
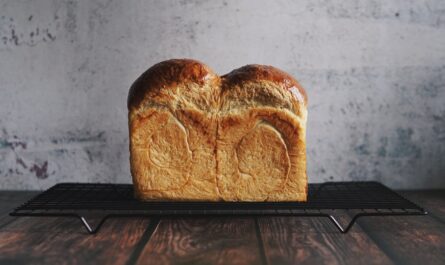
I previously shared a Pandan Raisin Bread recipe using sponge dough method but today, we’re using my trusty Tangzhong technique. This recipe promises to deliver the same soft, fluffy pandan bread, studded with sweet and plump raisins.
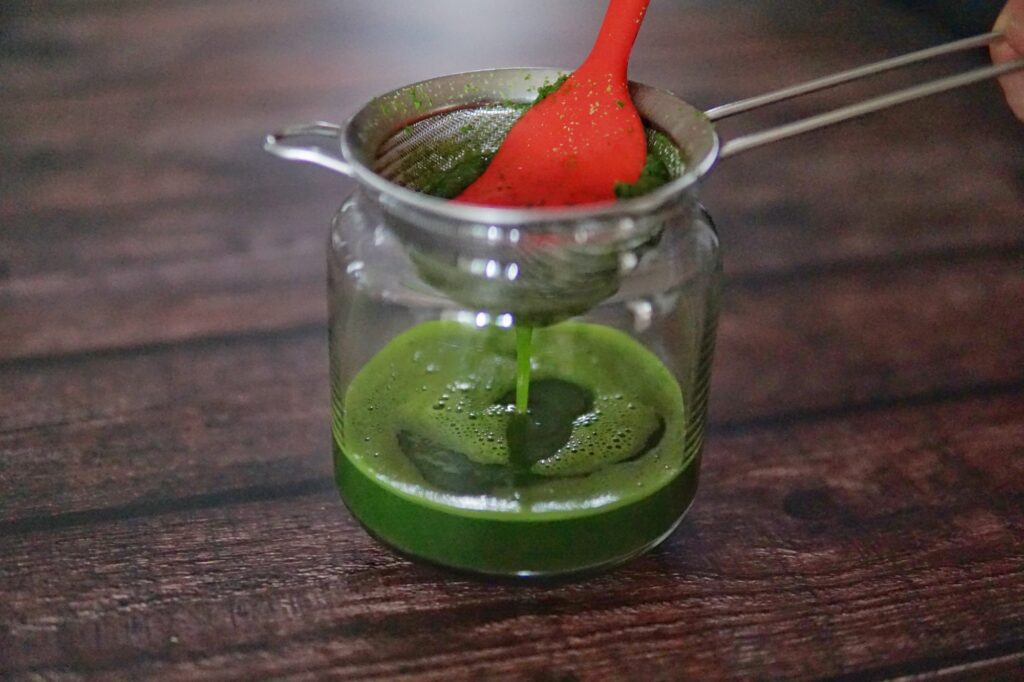
Creating the Fragrant Base: Pandan Juice
Harnessing the Pandan’s Magic
Pandan boasts a subtle, light flavour that elevates the entire loaf with its captivating aroma. Even a plain pandan bread will become the most alluring-smelling treat in your kitchen! Spreading your favourite kaya or butter, your breakfast is ready.
With our fragrant pandan juice prepared, it’s time to incorporate this unique ingredient into our bread. Let’s move on to creating the tangzhong. You may read more on Tangzhong on my previous post here, but tangzhong is essentially a pre-gelatinized starch that helps add more hydration to the dough.
This ingenious Asian technique involves cooking a small portion of the recipe’s flour with liquid (usually water or milk) until it forms a thick, paste-like consistency. In this recipe, we are replacing the water/milk with pandan juice instead.
Plump Up Your Raisins
For those who love the burst of sweetness and texture raisins offer, consider giving them a quick spa treatment! Soaking your raisins in hot water or brewed black tea for 10-15 minutes will plump them up, adding another delightful dimension to your bread. Just be sure to drain the liquid completely and pat them dry before incorporating them into the dough.
Of course, if you’re short on time or simply prefer a more classic pandan loaf, feel free to use dried raisins straight from the package. You can also skip the raisins altogether for a more subtle, fragrant loaf. The choice is yours!
Here’s a snippet of the making of the Tangzhong Pandan Raisin Bread – it really is THAT soft and fluffy.
View this post on Instagram
If you enjoy this recipe, you may also wish to try all my other Tangzhong recipes here. There are many other variations that you can do with one basic recipe, from Chocolate Milk Bread as well as Earl Grey Milk Bread.
Tangzhong Pandan Raisin Bread
Ingredients
Pandan Juice
- 160 ml water
- 80 g pandan leaves cut to small pieces
Tangzhong
- 20 g high protein bread flour
- 100 g pandan juice
Main Dough
- 30 g pandan juice
- 100 g fresh milk
- 1 egg yolk
- 30 g castor sugar
- ½ tsp salt
- 10 g milk powder
- 290 g high protein bread flour
- 1 tsp instant dried yeast
- 25 g unsalted butter room temperature
- egg wash optional
Instructions
Please note that I have included two methods below for tangzhong making and dough kneading using either the Thermomix or conventional bread machine so do take note of the sub-headings.
PANDAN JUICE
- CONVENTIONAL: Blend pandan leaves (cleaned & cut up into 1-inch sized pieces) with water then strain out juice, disposing the pulp.
- THERMOMIX: Add pandan leaves and water into the TM bowl and blitz for 1 min/Spd 10. Scrape down the sides of the bowl and lid, then blitz for another 1 min/Spd 10. Strain the juice, and dispose the pulp.
- You may refer to this post for further information on homemade pandan juice.
TANGZHONG & MAIN DOUGH (Thermomix Method)
- To make the tangzhong, place 20g high protein flour and 100g pandan juice in mixing bowl, cook for 3min/80°C/spd 3 and let stand for 10-15 minutes until temperature lowers down to 45°C.
- Add remaining ingredients from Main Dough into mixing bowl except butter and knead 4 min.
- Add butter, knead 1 min.
TANGZHONG (Conventional Method)
- Prepare tangzhong by mixing flour in pandan juice and whisk together in a pot, ensuring the mixture is well combined with no lumps. Cook over medium-low heat, stirring consistently to prevent burning and sticking while you cook.
- The mixture will gradually become thicker. Once you notice that some “lines” appear in the mixture for when you stir with the spoon, it’s done. Your tangzhong is ready.
- Transfer into a clean bowl. Cover with a cling wrap sticking onto the surface of tangzhong to prevent it from drying up. Let cool.
MAIN DOUGH (Conventional Method)
- Add all ingredients (except butter) into breadmaker; first the wet ingredients (egg, milk, pandan juice, tangzhong), then followed by the dry ingredients (sugar, salt, flour, milk powder, yeast).
- Select "dough" mode and let knead until all ingredients come together, usually I let it knead for approximately 8-9 minutes.
- Then add in the butter, continue kneading until the dough is smooth and elastic. The time of kneading in the breadmaker should take approximately 23-25 minutes.
BULK FERMENTATION & SHAPING
- Transfer dough to pastry mat, shape into ball and let proof in a warm place covered loosely with clingwrap/damp towel until doubled in size (approx. 45-60 minutes).
- Punch down dough to deflate. Divide dough into 3 equal portions and roll into a round shape – let rest for 10-15 minutes so the dough will be easier to handle.
- To shape each mini loaf, flatten a ball into a long oval shape. If using raisins, add some raisins in the center then fold 1/3 from right edge to the middle and press. Add more raisins on top of the folded dough, and then fold remaining 1/3 from left edge to the middle and press lightly. Roll it out slightly and roll into a cylinder.
- Arrange dough logs, seam side down in a bread loaf tin (I am using a 450g Pullman Loaf Tin 8x4x4") and let proof for approximately 40 minutes until dough fills up 80% of the tin. During last 15 minutes, preheat oven to 180°C.
- Brush egg wash and bake for 30 minutes at 180°C until golden brown.
- Remove bread from tin and allow to cool completely on a cooling rack for at least an hour before slicing and serving.
Few Things to Note
When it comes to bread making, there are many factors that will influence your dough and the end product. Recipes should be used as a guide, as you familiarize yourself with the process and dough.
For instance, your dough may require extra kneading time depending on the flour and its protein content. The method used to knead also needs to be taken into account as some machines work the dough quicker, whilst others may require a bit more kneading time.
Temperature and humidity plays a big part in how your dough rises. The amount of time required to proof your dough also varies depending on where you’re based at. If it is not warm enough where you live, heat up a cup of water in the microwave for 45 seconds, then proceed to leave dough inside the microwave to rise for 25-30 minutes.
It’s also very important to try to get to know your oven, as every oven is different. Keep an eye out as the bread is baking. Adjust either the baking temperature or duration according to how your oven behaves.
IF YOU MADE THIS RECIPE, TAG ME ON INSTAGRAM @THEBAKEANISTA AS I’D LOVE TO SEE YOURS TOO!