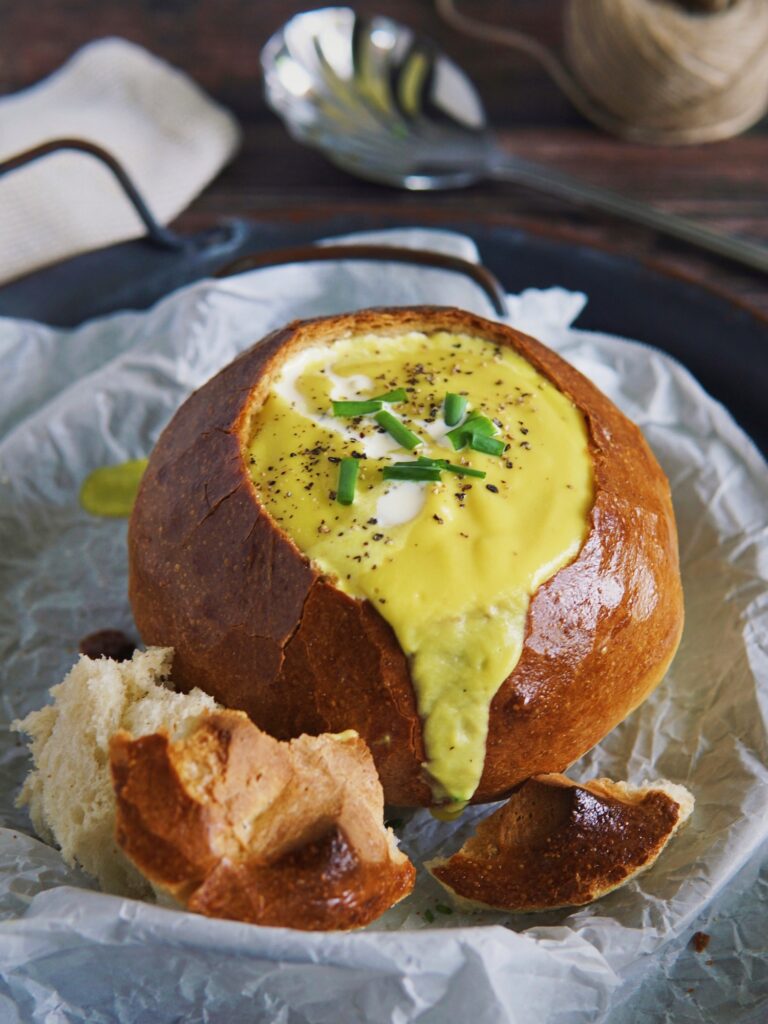
Easy & Delicious Homemade Bread Bowl
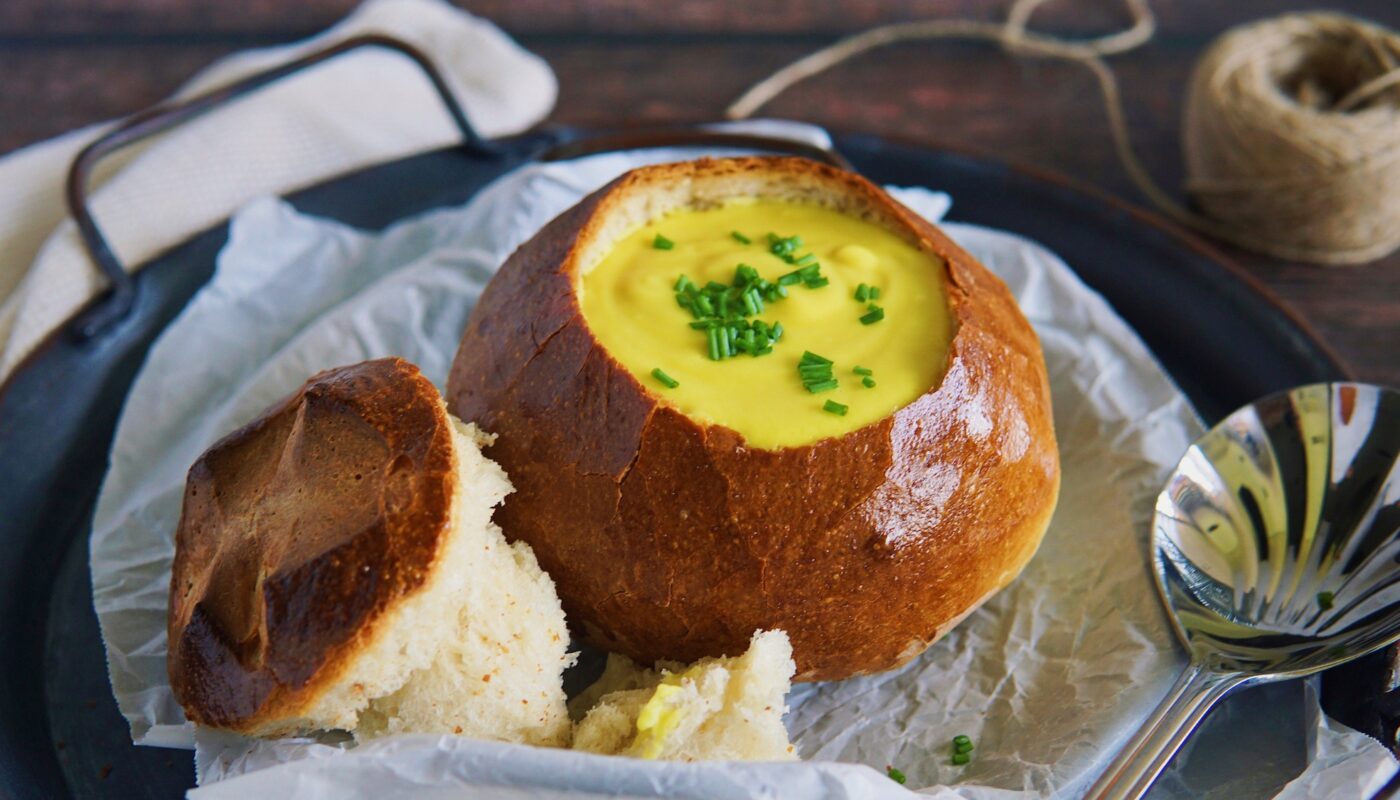
We often pair our soups with a side of bread, why not serve it in one instead? Now you can easily fill your tummy with just a bowl of soup, by of course eating the bowl — literally. Crusty exterior yet soft on the inside, these homemade bread bowls will take your soup to a whole new level! In addition to that, you have one less dish to wash when dinner is done.
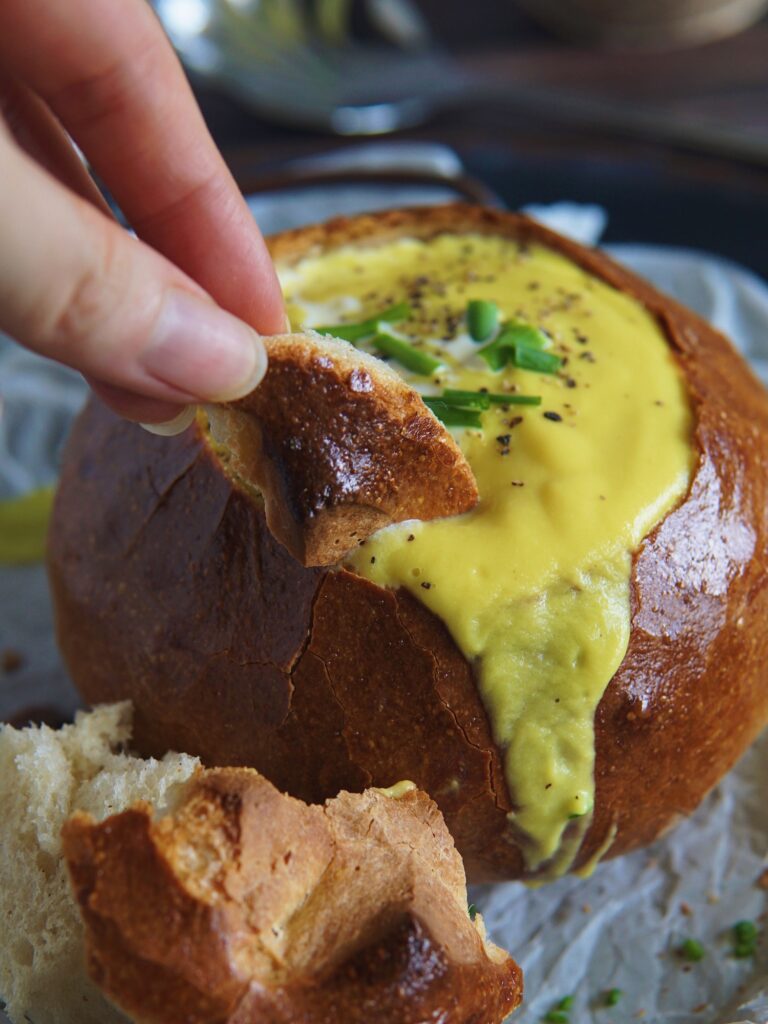
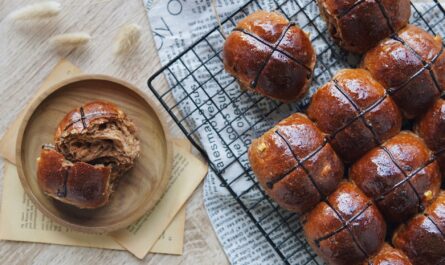
I love how I can get both the crunch of the outer skin and also the soft interior that soaks up all the flavor of the soup. And in terms of presentation, isn’t this just a better looker than porcelain bowls?
How to Serve the Bread Bowls?
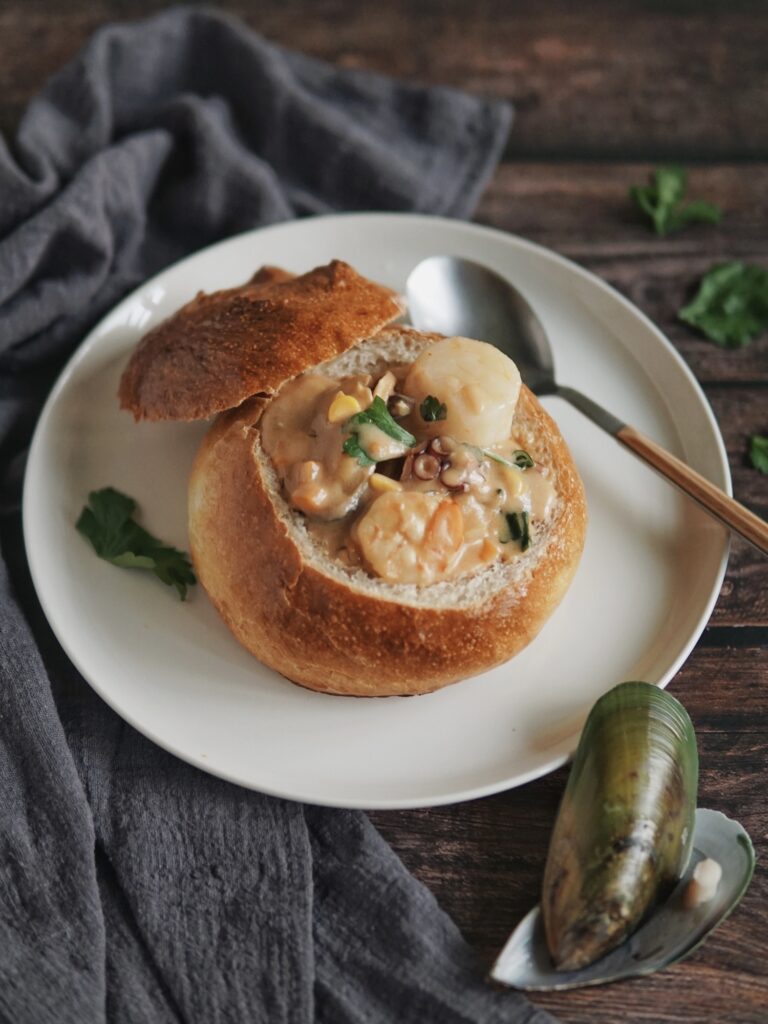
Pair this homemade bread bowl with any hearty soup of your choice, and voila, a winning meal!
You can fill these bread bowls with any kind of soup. The thicker, creamier kinds tend to go better with bread. The very first time I made these homemade bread bowls, I served it with seafood chowder and it was SO good that my parents still rave about it to this day. These bread bowls are simply perfect for this creamy, hearty soup.
You could also serve it with vegetable soup – one that is perfect for picky eaters; they’d never guess it’s made up of ALL that cauliflower and potato that they otherwise would not eat! Perhaps it’s a good way to tempt the little ones into taking their veges. 😉
Ingredients to Make Bread Bowls
This recipe calls only for a handful of basic ingredients:
- water
- yeast
- sugar
- salt
- olive oil
- high protein bread flour
You’d need to firstly activate the yeast in some warm water and sugar until the mixture turns foamy and frothy before you knead in the rest of the ingredients. Ensure not to use water that is too hot; anything beyond 55°C kills the yeast.
I also added onion powder, which you may opt to omit, but I reckon it tastes wonderful in the bread. Alternatively, you may opt for garlic powder if that matches your homemade soup better.
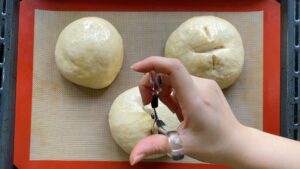
Scoring the exterior of bread with an ‘X’ helps directs expansion to shape the loaf and also to prevent it from bursting during the baking process. Plus, it adds a touch of coolness when served too!
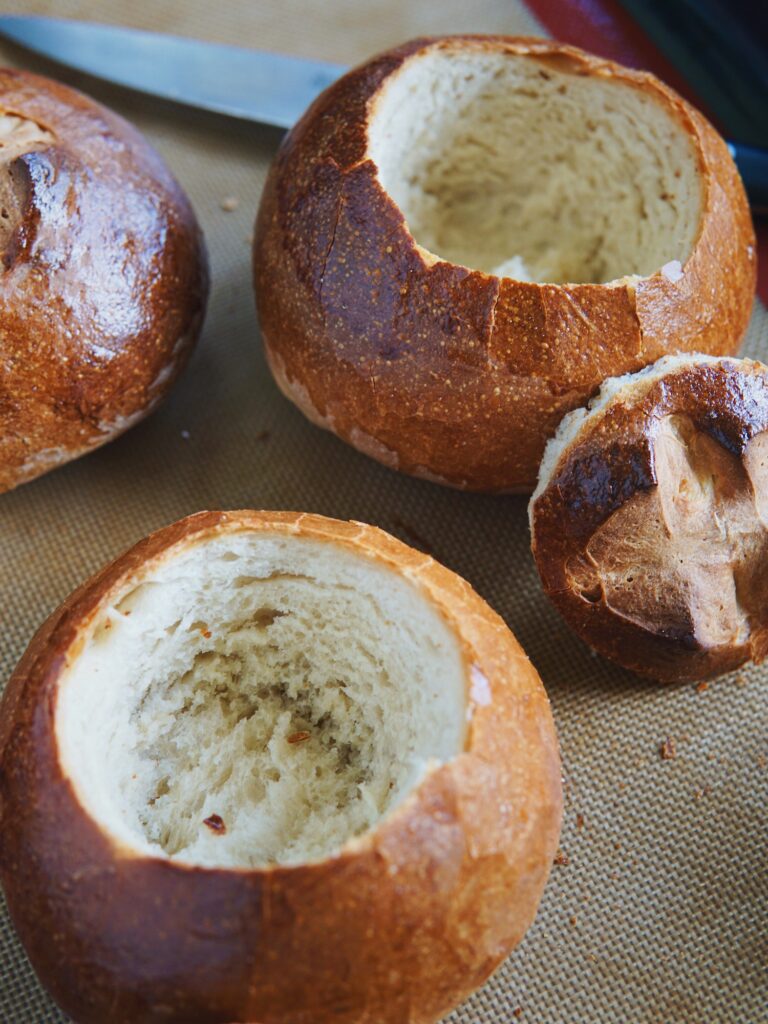
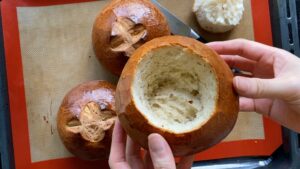
Once the bread bowl is done, time to hollow out the center. But prior to that, allow the bread to cool down completely, so that it is easier to carve out the pocket. Keep the bits of bread that you just dug out for dipping later. Alternatively, you can dice them up into little squares and make some crispy croutons to top off your soup later.
If you’re using a Thermomix, the kneading process takes only 2 minutes, which will certainly quicken your process a fair bit. But if you don’t have one, this dough can be kneaded either in the bread machine or stand mixer, or even by hand! I’ve shared both conventional and Thermomix methods below.
For Thermomix users, you may refer to this quick 1 minute video for some visual guidance.
The great thing about this bread bowl is that, it doesn’t just stop at soups. Personally, I think it will be a great way to serve other gravy based dishes like chicken kurma, rendangs, butter chicken or even curry. Basically, think back to whatever you enjoy dipping your bread into and give it a go.
Crusty Bread Bowl
Ingredients
Bread Bowl
- 270 g water
- 2½ tsp yeast
- 1 tsp sugar
- 1 tsp salt
- 1 tbsp olive oil
- 390 g high protein bread flour
- 1 tbsp onion powder (optional)
- 1 egg for wash
Instructions
Bread Bowl (Thermomix Method)
- Place water, yeast & sugar into mixing bowl – warm for 2 mins/37°C/Sp1. Let sit for 5 minutes. Mixture should be frothy after 5 minutes.
- Add salt, onion powder, olive oil & flour, then mix 6 seconds/Sp6. Then knead 2 mins.

Bread Bowl (Conventional Method)
- Pour in 220g of water at room temperature, followed by 50g of hot water into mixing bowl. Add yeast and sugar, stir to combine. Let sit for 5 minutes. Mixture should be frothy after 5 minutes.
- Add salt, onion powder, olive oil & flour. If using bread machine, start Dough mode or for those using stand mixer, knead on low speed. After few minutes, check dough to ensure ingredients are well combined. Use spatula to scrape if flour sticks to the corners of the bowl. Dough should pull away from the sides of the mixing bowl as it kneads when it is done – after approximately 8-10 minutes of kneading.
To Shape & Proof
- Transfer dough to a silicone bread mat. For Thermomix users, it will help loosen dough if you overturn bowl and spin the back of the blade (refer to IG video here for visual guidance). Shape into smooth round ball and let proof for 45-60 minutes covered with cling wrap/damp towel until doubled in size.Tip: To create an optimum warm environment for your dough to rise (for cold days), place a glass of water in the oven and heat to 40°C. Turn the oven off, and place the dough inside.
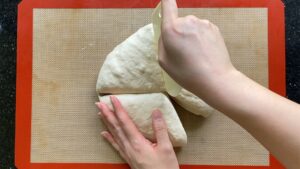
- Line a baking sheet either with parchment paper or silicone baking mat. Deflate gas, and divide into three equal portions.
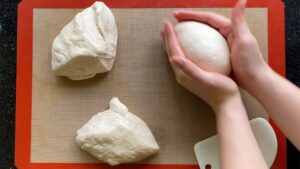
- Shape into round balls, and place on lined baking sheet. Cover loosely using cling wrap/damp towel and proof for 20 minutes. Whilst your dough is rising, preheat oven to 200°C.
To Bake & Serve
- Using a pastry/silicone brush, brush each dough with egg wash. Score an 'X' on the top either using a lame/blade or pair of scissors. Bake for 30 minutes until golden brown.If you're a Thermomix user, this is when you can start making your homemade soup. This recipe I shared here takes only 20 minutes to cook the soup.
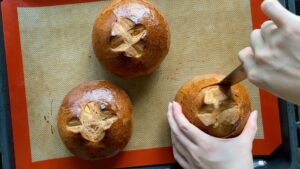
- Remove from oven and let cool. To serve, cut a large round out of the top of each bread bowl, leaving at least half an inch on the bottom.
- Carefully pull out the center (serve this at the side to dunk into soup!) and fill with any soup of your choice. Enjoy!
Notes
Egg Wash Subtitute
If you would like to keep this recipe egg-free, instead of egg wash, spray the bread bowls with cold water before baking. Then after baking, brush on with some melted butter for a shiny effect. Recipe adapted from Sally’s Baking Addiction and modified/converted to Thermomix method by The Bakeanista.Have you tried this recipe?
IF YOU MADE THIS RECIPE, I’D LOVE TO SEE HOW IT WENT!
TAG ME ON INSTAGRAM @THEBAKEANISTA SO I CAN HAVE A LOOK AND RE-POST ON MY IG STORIES!
IF YOU ENJOYED THIS RECIPE, YOU MAY WANT TO CHECK OUT MY RECIPE INDEX FOR OTHER DELICIOUS RECIPES.

Tried this recipe…absolutely easy to follow and yummy!
Very delicious CRUSTY BOWL! The crispy crust is so satisfying! The white part is super soft. I will definitely bake this again! Michelle’s recipe is so reliable❤️❤️❤️.
This is a generous portion! Beware of your belly😁.