High five if you recall a certain raisin pandan bread with a light dust of castor sugar. Once easily found in abundance at most local bakeries, now sadly ceased to exist. Growing up, that was my go-to item at every bakery. I am sure we all can relate to that feeling of nostalgia from a fond childhood memory revolving around ones’ favourite snack that is hard to come by nowadays.
Thankfully, I am now able to recreate that. A soft, fluffy pandan bread dotted with sweet raisins straight from my oven. I guess the reason why I was so addicted to it as a child was down to that charming, sweet aroma. Pandan just amplifies the flavors of anything!

To bake this bread, you will of course need pandan juice, and it is best to make it fresh. Click here to see how I make my pandan juice/extract from scratch.
Now that you have your juice, time to put it into action. The fragrance of pandan bodes well in bread making. An assisting ingredient that is mild and light in terms of taste, but presence very much felt with that alluring scent. Even if it is still a plain loaf and best with a spread of some sort, it has got to be the best smelling bread in my books!
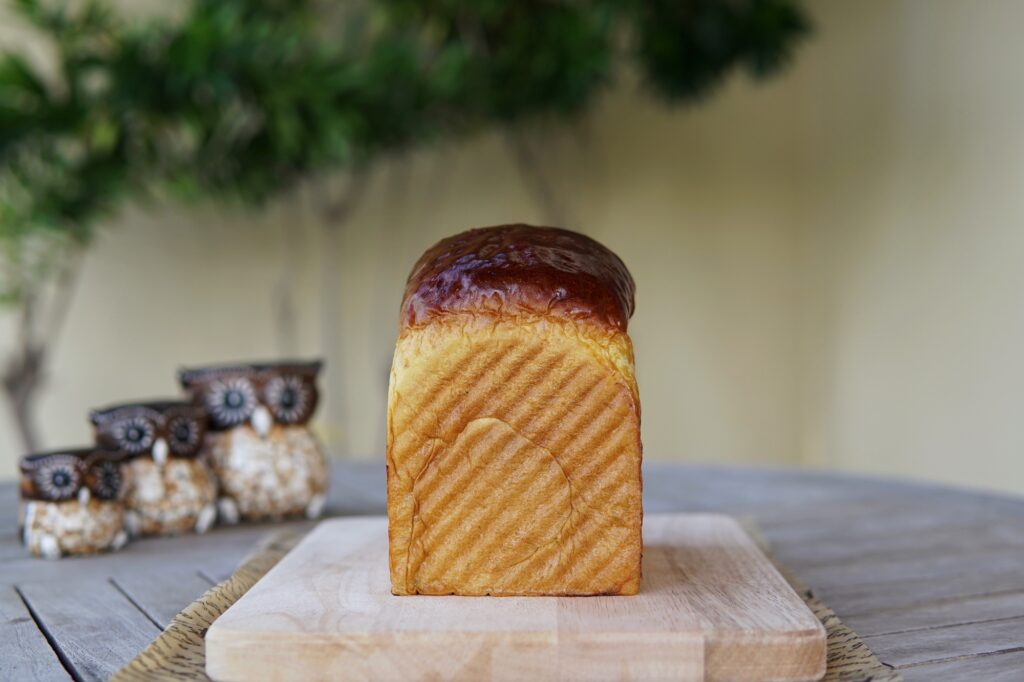
If you’re using raisins, I would highly suggest soaking the raisins either in hot water or brewed black tea for at least 10-15 minutes. By doing so, the raisins would be more plump. Just remember to always drain the liquid and pat them dry before adding into the dough. If pressed for time though, it is also fine to use dried raisins. Or you may simply omit the raisins and sugar for a more generic pandan loaf.
This Pandan bread uses a sponge dough method also known as the preferment method. Essentially, this is a two step bread making method that starts with mixing a subset of the yeast dough ingredients, which is left to ferment before adding in with the rest. The fermentation gives a soft crumb, fluffier texture, more aroma and enhanced shelf life.
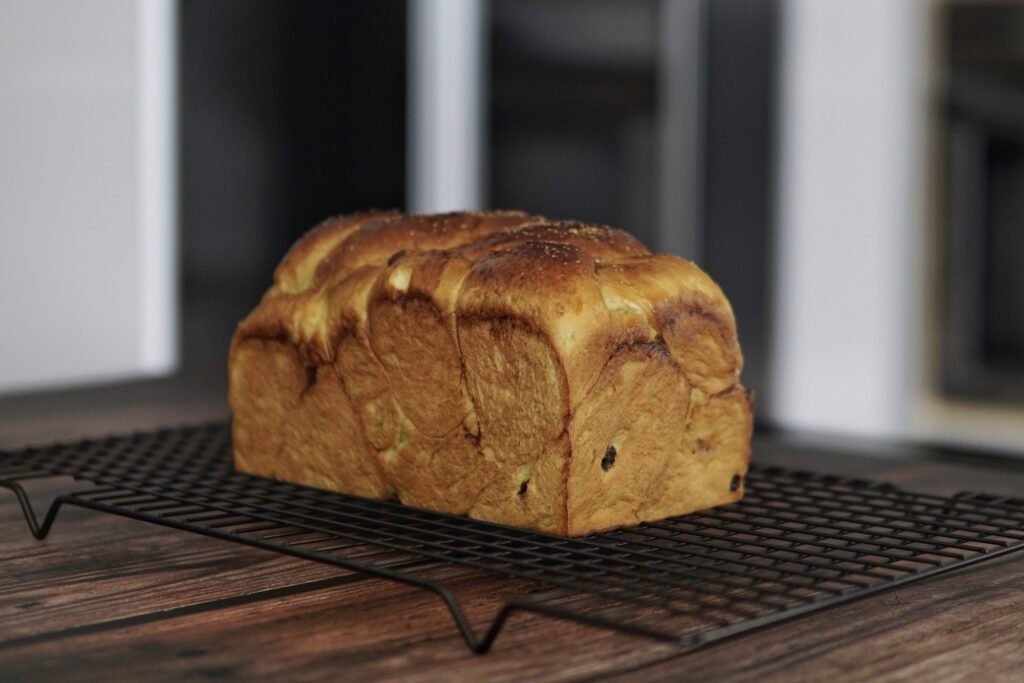
As soon as it comes out the oven, a bewitching whiff of pandan just fills the room. Transfer it onto a cooling rack and slice when completely cooled down, and store in an airtight container. Due to the sponge dough, the bread should last for a good 2-3 days. A slice of this with a dollop of kaya jam and soft boiled egg makes the most delectable breakfast!
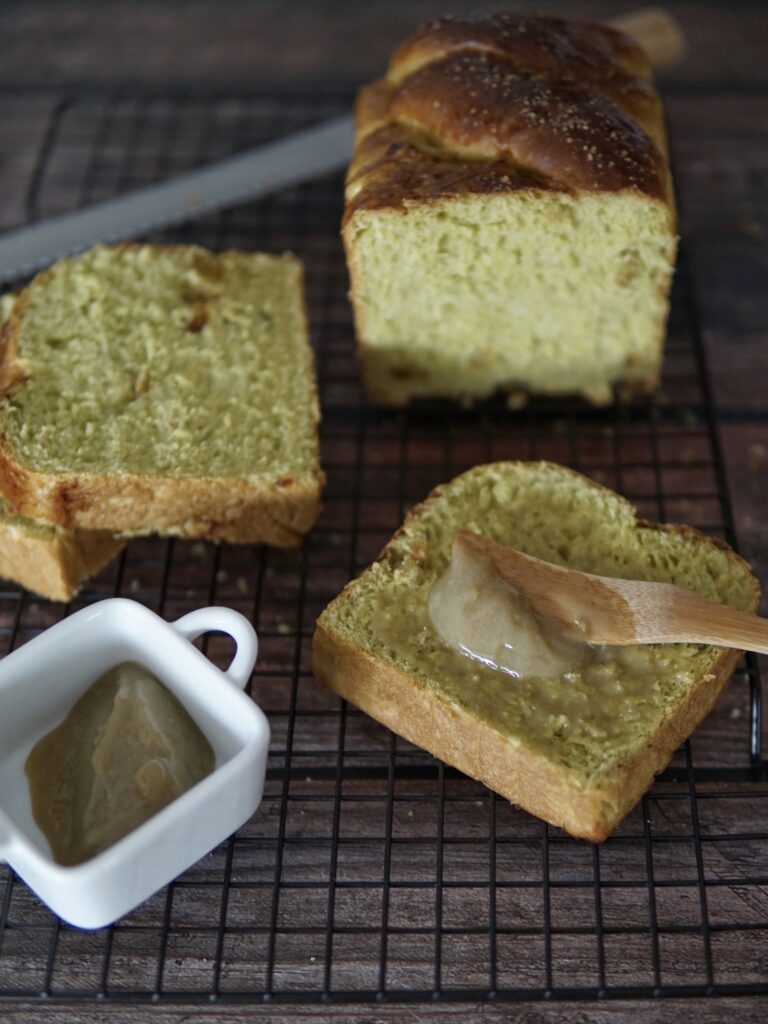
Soft Pandan Raisin Bread
Ingredients
(A) Pandan Juice
- 160 ml water
- 10-15 pandan leaves
(B) Sponge Dough
- 200 g high protein bread flour
- 1¼ tsp instant yeast
- 20 g milk powder
- 25 g egg lightly beaten
- 100 g pandan juice from (A)
(C) Main Dough
- 65 g high protein bread flour
- 45 g castor sugar
- ½ tsp salt
- 27 g pandan juice from (A)
- 30 g unsalted butter softened at room temperature
(D) Raisins & Sugar Topping – Optional
- 50 g raisins see notes below
- 1 tbsp brown sugar
Instructions
Pandan Juice
- CONVENTIONAL: Blend pandan leaves (cleaned & cut up into 1-inch sized pieces) with water then strain out juice, disposing the pulp.
- THERMOMIX: Add 160g of water into the TM bowl and insert a bunch of pandan leaves through the hole in the lid, blitz for 1 min/Spd 10. Continue adding pandan leaves in batches until all are used up. Scrape down the sides of the bowl and lid, then blitz for another 1 min/Spd 10. Strain the juice, and dispose the pulp.
- You may refer to this post for further information on homemade pandan juice.
Sponge Dough
- CONVENTIONAL: Mix together all ingredients from (B) in a clean bowl using a spatula/spoon until combined. It will seem a tad dry, but don’t worry. Cover with cling wrap, let proof for 1 hour.
- THERMOMIX: Place all ingredients from (B) into mixing bowl – mix for 30secs/Sp3. Let rest inside bowl for an hour.
Main Dough
- CONVENTIONAL: If using bread maker, put in sponge dough from (B) with all other ingredients from (C) except butter, starting with wet ingredients at the bottom followed by dry ingredients. Select dough mode then let knead for 3-4 minutes until ingredients come together with lid closed. Add in butter and knead a further 5-6 minutes with lid open and then stop the machine. Then shut the lid and restart dough mode again, this time until kneading cycle is complete. This should add up to 25 of knead time. If you're adding raisins, do so at the last 3-4 minutes before dough cycle completes.
- THERMOMIX: Add in all ingredients from (C) except butter and knead for 1.5 minutes. Add butter and knead a further 4 minutes.If you're adding raisins, you'd do so now. Mix for 20secs/Sp3 to fully incorporate raisins into dough.
Shaping Dough
- Transfer dough to lightly floured worktop. Shape dough into a round ball and let rest, covered with a towel for 10-15 mins.
- Using a rolling pin, flatten out dough to a rough rectangle. Fold in both ends of the vertical side to meet in the middle. Gently flatten dough with rolling pin bout 1.5cm thick, then swiss roll it to form a log. Seal edges then place seam side down in a 8x4x4” bread loaf pan or equivalent.
- Use cling wrap or a damp towel to cover pan. Proof for an hour, or until dough is doubled in size. Use remaining egg from (C) to lightly egg wash the top. If you added raisins, you would want to also lightly sprinkle some brown sugar over the top or omit the sugar.
- Bake at 180°C for 25 mins – the first 20 mins on the lowest rack, and final 5 mins on 2nd rack from bottom.
- Take pan out from oven, and let bread cool in pan for 5-10 mins. Remove loaf from pan and let completely cool on rack for at least 30 mins to an hour before slicing. Enjoy!
Video
Notes
Few Things to Note
When it comes to bread making, there are many factors that will influence your dough and the end product. Recipes should be used as a guide, as you familiarize yourself with the process and dough.
For instance, your dough may require extra kneading time depending on the flour and its protein content. The method used to knead also needs to be taken into account as some machines work the dough quicker, whilst others may require a bit more kneading time.
Temperature and humidity plays a big part in how your dough rises. The amount of time required to proof your dough also varies depending on where you’re based at. For my second proofing, I usually heat up a cup of water in the microwave for 45 seconds, then proceed to leave my dough inside the microwave to rise for 25-30 minutes.
It’s also very important to try to get to know your oven, as every oven is different. My oven heats up quickly so when a recipe calls for 180°C, I sometimes drop it down to 160-170°C. Keep an eye out as the bread is baking. Adjust either the baking temperature or duration according to how your oven behaves.
Have you tried this recipe?
IF YOU MADE THIS RECIPE, I’D LOVE TO SEE HOW IT WENT!
TAG ME ON INSTAGRAM @THEBAKEANISTA SO I CAN HAVE A LOOK
AND RE-POST ON MY IG STORIES!

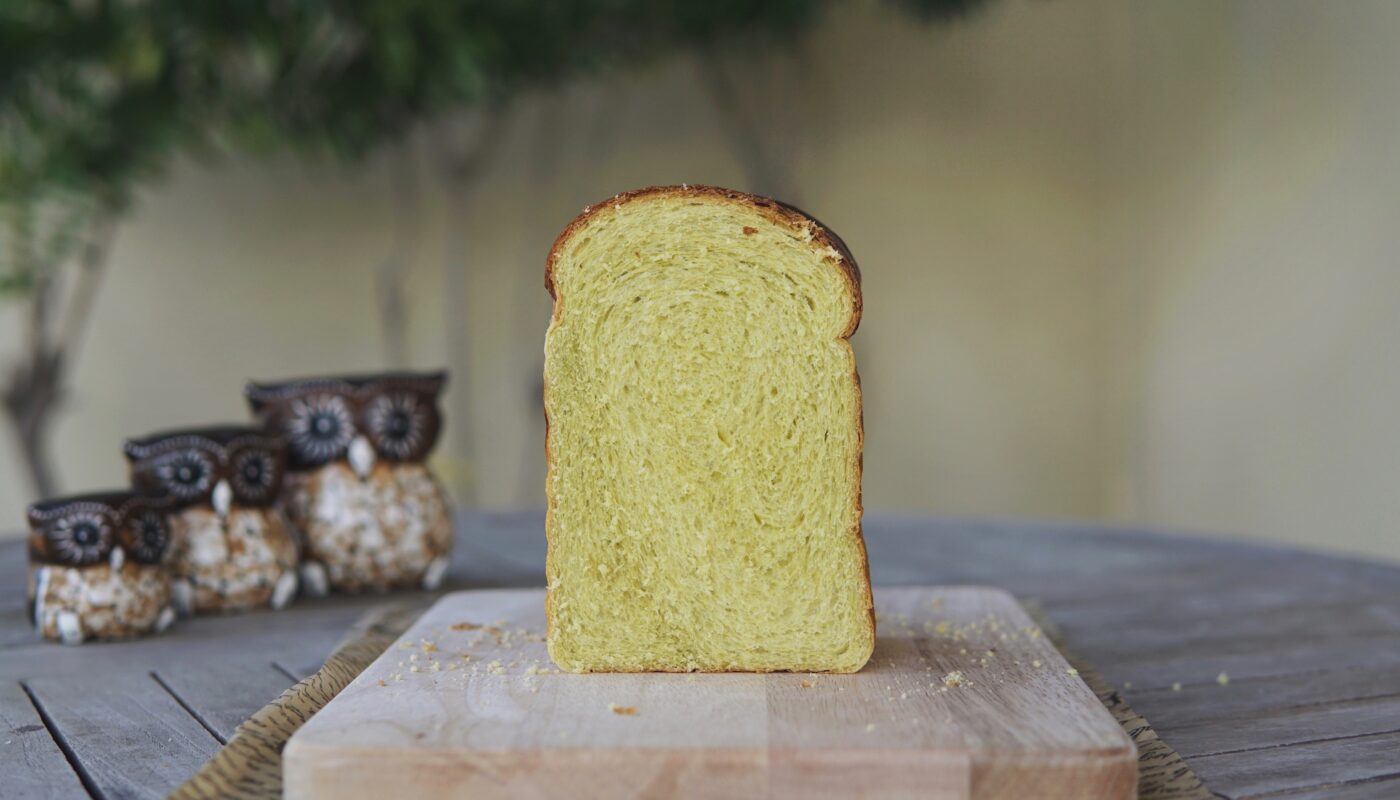

I have baked this pandan bread and it smells and tastes heavenly! Many thanks for the recipe.
You’re very welcome! Thank you for taking the time to come back and leave me a comment. So glad to hear that you enjoy the bread! 🙂
Thank you for sharing this “old school” bread, the sweet fragrant of pandan is so calming 🙂 Love it!
Very nostalgic right!
Hi, May I know for thermomix, when do u mix the dough from B to ingredients C? Coz yr recipe didn’t state that. Tk u
Hi Peni, sorry I don’t quite get what you mean. The below is stated in my recipe for both ingredients B & C:
Sponge Dough
THERMOMIX: Place all ingredients from (B) into mixing bowl – mix for 30secs/Sp3. Let rest inside bowl for an hour.
Main Dough
THERMOMIX: Add in all ingredients from (C) except butter and knead for 1.5 minutes. Add butter and knead a further 4 minutes.
As all of B is already in the mixing bowl, you will continue through with the step for Main Dough (ie. ingredients from C) adding them to the mixing bowl (of which B is already inside). I hope that helps?
If you are a pandan lover, this is a must try recipe! The pandan smell lingers in the house for hour and it smells so good! The loaf is soft and good to eat it plain.
Is it possible if I make this bread without pandan? How?
This bread’s highlight is the pandan though. If you don’t want to use pandan, perhaps try to many other bread recipes I have? Have a look at the recipe index to find one you might be interested to try: https://thebakeanista.com/recipes/
Love the recipe! Bread turned out fluffy!
The pandan smell was amazing!
Thank you for sharing the Thermomix modifications!
I added some pumpkin seeds as I only had 250g of raisins left at home and enjoyed the extra crunch. =D
Thank you for sharing your detailed, but simple to understand recipe for a beginner like me! Love the tips at the “Note” part. This blog shall be my baking bible from hereon 😀
Thanks so much Michelle for the awesome recipe! I love how soft the bread turned out.! I added raisins and some brown sugar as topping! Love it 💚💚💚
If using pandan essence to replace the pandan juice how much should I use? I noticed you put pandan juice in ingredients B and C, so how much should I use then? 1/4 tsp on each?
Hi Kin, I wouldn’t recommend using pandan essence as it wouldn’t have the same taste. But if you do not have access to pandan leaves, then I suggest using pandan extract instead of pandan essence. I prefer Koepoe brand. Use about 1/2 tsp in B and 1/4 tsp in C, stirred in with water to make up the same amount of pandan juice required.
The bread is extremely fragrant and soft! Pandan taste is subtle, not overpowering and the level of sweetness is just nice; with the raisins giving a lovely punch. The recipe is detailed and foolproof. Excellent!
This recipe is a keeper!
So easy to follow and the pandan smell and taste is heavenly.
May i know if this method can be used to bake chocolate loaf? If yes, do i replace some of the bread flour with cocoa powder? Add to sponge dough or main dough? Thanks!
Hi Leng, hmm you can add cocoa powder to bread flour, but not by removing bread flour. Also you will also need to swap out the pandan juice with milk/water but this will require some experiment. I suggest you try the chocolate variation here instead: https://thebakeanista.com/tangzhong-milk-bread/
Hi! Loving all your recipes thank you so much for sharing! May i know for this pandan bread recipe, can i use pandan paste instead? What is the conversion for this?
Thank you Rina for your kind words. It’s not advisable as your bread will taste different. If you wish to use pandan paste, you can try the Ube Milk Bread and replace the Ube extract with pandan extract. That would be easiest.
Thank you for sharing the Best Pandan Bread Recipe! So soft and delish 🙂
Thank you for sharing the Best Pandan Bread Recipe!
I made this recipe today and omg it was sooo good. My kids can’t stop eating it! Delicious pandan bread!