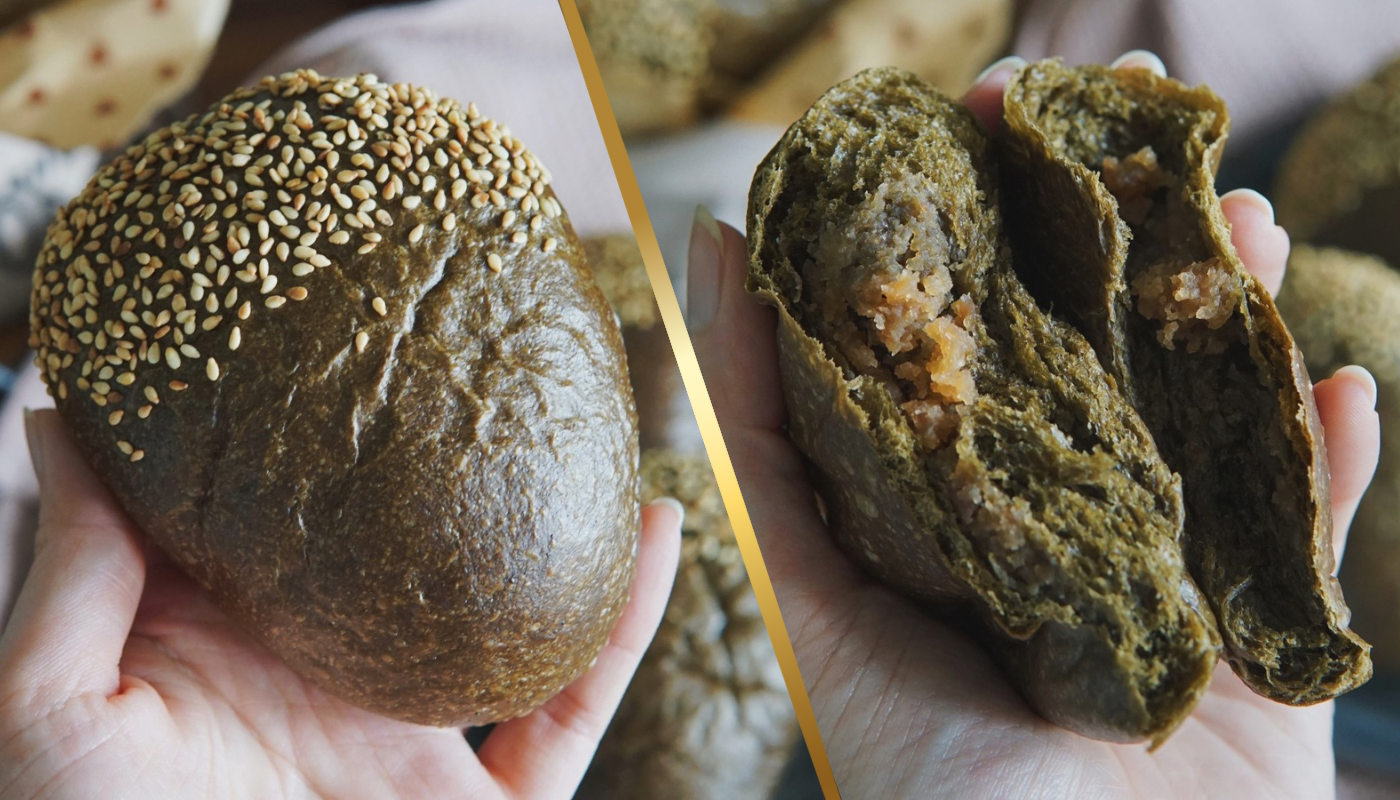
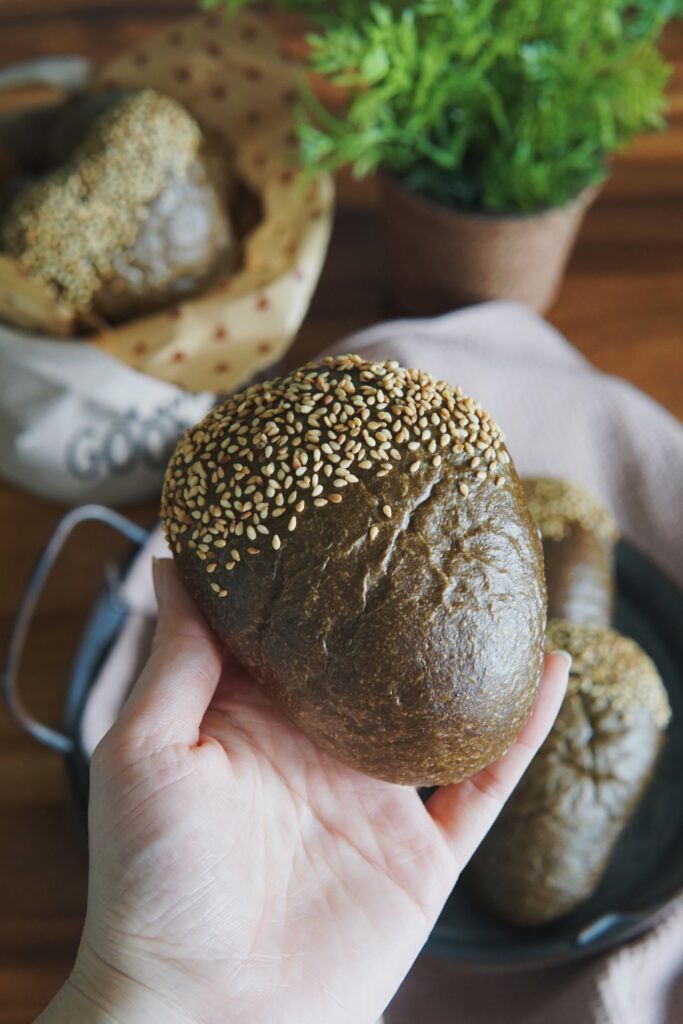
These soft and fluffy buns are infused with the rich, earthy aroma of hojicha, and filled with sweet and nutty chestnut. The buns are shaped to resemble the chestnut fruit 🌰 with its rounded shape and pointed tip. To further add another layer of authenticity to the chestnut shape, I’ve also coated the bottom of the buns with roasted sesame seeds.
The seeds resemble the hilum, the small, pointed scar on the base of a chestnut where it was attached to the burr. This detail not only enhances the aesthetics of the buns but also provides a satisfying textural contrast to the soft, fluffy buns. With their adorable chestnut shape, these buns are not only delicious but also visually appealing.
Infusing Hojicha Flavour
Hojicha, a popular Japanese roasted green tea, is known for its deep, nutty flavour and vibrant amber colour. Hojicha is often enjoyed in a beverage, but it can also be used to flavour baked goods.
I chose to infuse my buns with a strong hojicha powder to achieve a deep, dark brown hue that closely resembles chestnuts. Hojicha is known for its distinct nutty and smoky aroma, with subtle hints of cocoa – I believed this flavour profile would pair perfectly with the sweet and nutty chestnuts.
To infuse the buns, I kneaded the hojicha powder directly into the dough. For those who prefer a different flavour, you could substitute hojicha with either cocoa powder or earl grey powder. Both chocolate and earl grey would create a delicious combination with chestnuts. If using cocoa powder, I recommend reducing the quantity to 15g as cocoa powder tends to dry out bread dough.
Sweet & Nutty Chestnut Filling
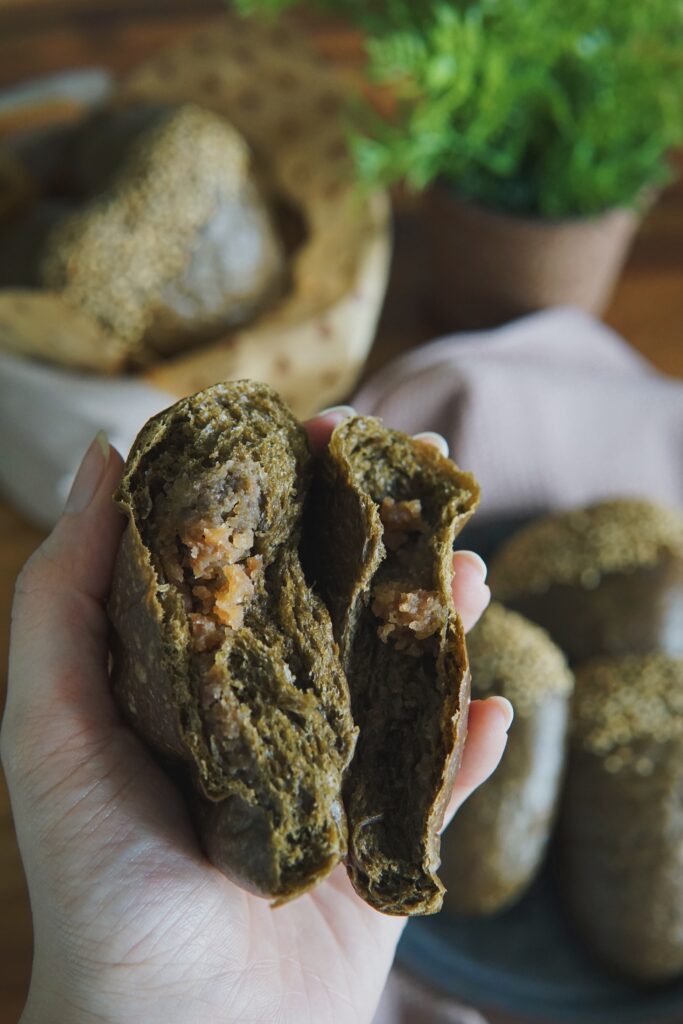
The chestnut filling is made from peeled and cooked chestnuts and milk which are then mashed or blended into a smooth, thick paste. If the mixture is too thick, you can adjust the consistency of the chestnut filling by gradually adding more milk to achieve the desired consistency.
Once the filling is prepared, carefully spoon some into the center of each dough piece, seal the edges, and shape the buns into triangles. The chestnut’s natural sweetness and nutty flavour perfectly complements the earthy notes of the hojicha, creating a delectable combination.
There are many ways in which you can play around with the chestnut filling. You may wish to add some castor sugar (approximately 10-20g) to sweeten the filling. For an extra creamy texture, you may add a small amount of softened butter or whipping cream to the chestnuts.
If you prefer to use a simple milk dough, a pinch of cinnamon, nutmeg, or cardamom can complement the natural sweetness of the chestnuts, adding depth and complexity to the filling. The possibilities are endless!
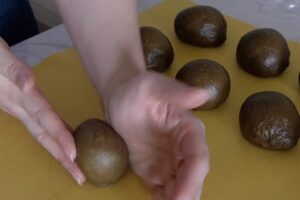
Here’s a snippet of how I shaped these cute chestnut buns:
View this post on Instagram
Give this Hojicha Chestnut Buns recipe a try and let me know what you think!
Hojicha Chestnut Buns
Ingredients
Tangzhong
- 20 g high protein bread flour
- 100 g water
Dough
- 40 g milk
- 30 g whipping cream
- 30 g castor sugar
- 1 large egg
- ½ tsp salt
- 260 g high protein bread flour
- 20 g hojicha powder
- 1 tsp instant dried yeast
- 30 g unsalted butter room temp
- 10 g milk for wash optional
Filling
- 150 g chestnut cooked & peeled
- ½ tbsp milk
Instructions
Please note that I have included two methods below for tangzhong making and dough kneading using either (A) conventional bread machine or (B) Thermomix so do take note of the sub-headings.
[THERMOMIX] Tangzhong & Dough Kneading
- To make tangzhong, place 20g high protein flour and 100g water in mixing bowl, cook for 3min/75°C/spd 2 and let stand for 10-15 minutes until temperature lowers down to 40°C.
- Once temperature hits 40°C or below, add milk, cream, sugar, egg, salt, 280g high protein flour, hojicha powder and yeast then knead 4min.
- Add butter, knead 1min.
- Transfer dough to a pastry mat, shape into ball and let proof in a warm place covered loosely with cling wrap/damp towel until doubled in size (approximately 45-60 mins).
[CONVENTIONAL] Tangzhong & Dough Kneading
- Prepare tangzhong by mixing flour in water and whisk together in a pot, ensuring the mixture is well combined with no lumps. Cook over medium-low heat, stirring consistently to prevent burning and sticking while you cook.
- The mixture will gradually become thicker. Once you notice that some “lines” appear in the mixture for when you stir with the spoon, it’s done. Your tangzhong is ready.
- Transfer into a clean bowl. Cover with a cling wrap sticking onto the surface of tangzhong to prevent it from drying up. Let cool.
- After tangzhong has cooled down, approx 20 mins later, add all ingredients into breadmaker; first the wet ingredients (tangzhong, milk, cream, egg), then the dry ingredients (in order of sugar, salt, flour, hojicha powder, yeast).
- Select "dough" mode and let knead until all ingredients come together, usually I let it knead for approximately 10 minutes.
- Then add in the butter, continue kneading until the dough is smooth and elastic. My breadmaker's dough kneading cycle is 23 minutes.
- Transfer dough to a pastry mat, shape into ball and let proof in a warm place covered loosely with clingwrap/damp towel until doubled in size (approx 45-60 mins).
FILLING
- In a clean bowl, blend together chestnuts and milk until smooth and combined. I used store bought peeled and cooked chestnut that was already softened. I used a fork to smashed the chestnuts and mixed with milk until combined.
SHAPING & PROOFING
- Punch down dough to deflate. Divide dough into 8 equal portions and pre-shape into round balls (detailed video tutorial on how to shape dough into round balls here from 5:16 onwards). Let rest for 15-20 minutes, covered with clingwrap/damp towel.
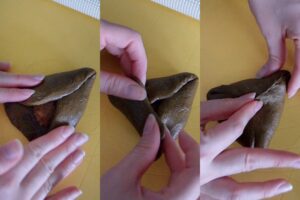
- Roll each dough ball flat, and place a tbsp of chestnut filling mixture, wrap it up by shaping into a triangle, and seal the edges by pinch two angles together. Be sure to press in the bottom edges to create a round corner.
- Deep the wider and bottom half of the triangle into milk (or brush with water if you do not wish to use milk wash).

- Coat the bottom of the dough with sesame seeds then place the buns on a lined baking tray, seam side down. Let rise until doubled in size.
- Proof for 40 minutes, until doubled in size. Towards the last 15 minutes, preheat your oven to 180℃. (TIP: Setting your timer to go off after 25 minutes to preheat oven, then a further 15 minutes works best for me!)
- After dough has doubled in size, bake at 180°C for 18-20 minutes.
- Remove from oven, and let cool for 5 minutes. Remove bread from pan and transfer onto a wire rack to let cool.
- Store completely cooled buns in air tight container – they can stay in room temp for up to 2-3 days.
Notes
Looking for other cute fun-shaped bread recipes?
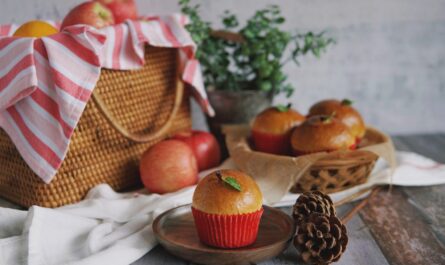
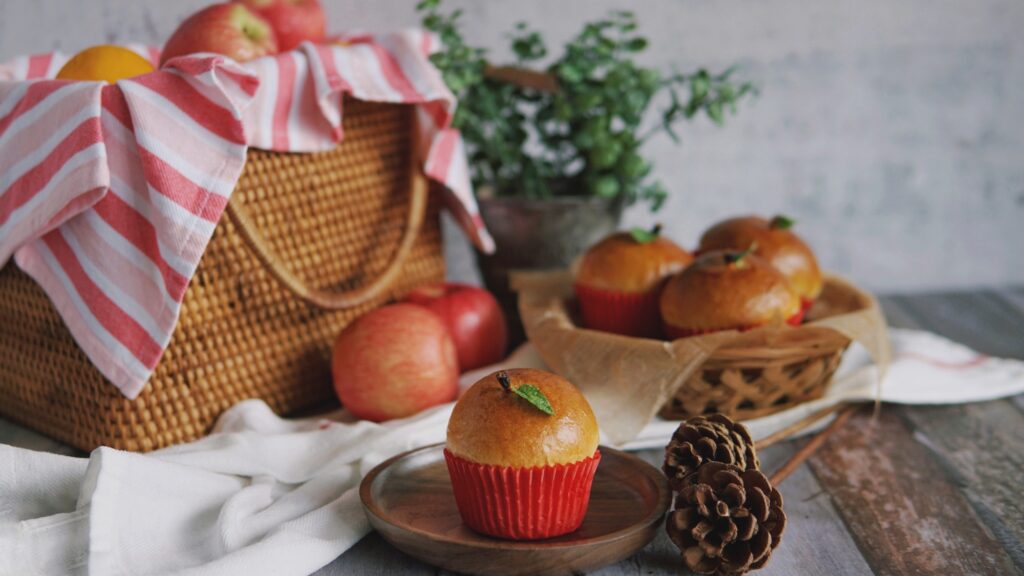
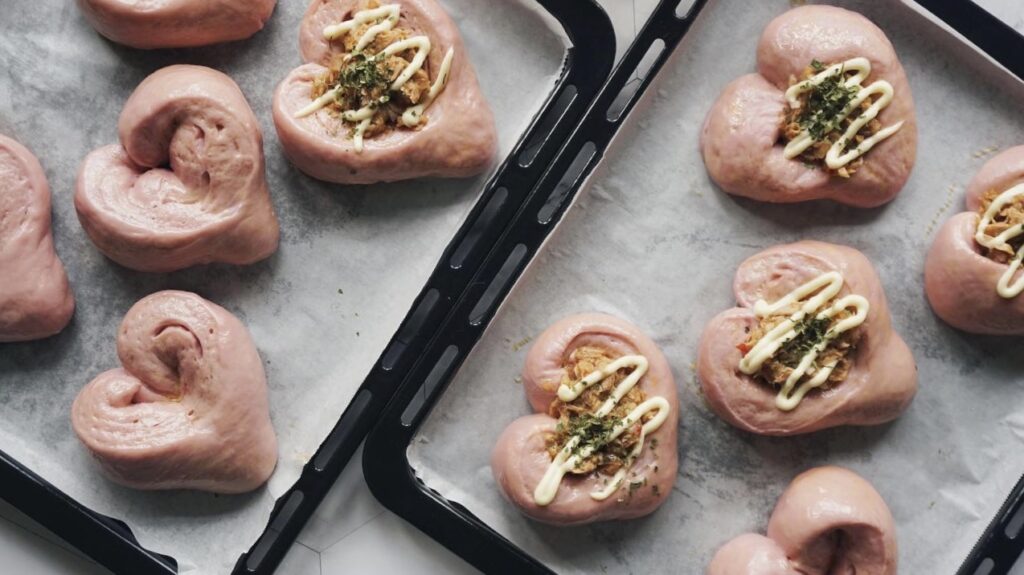
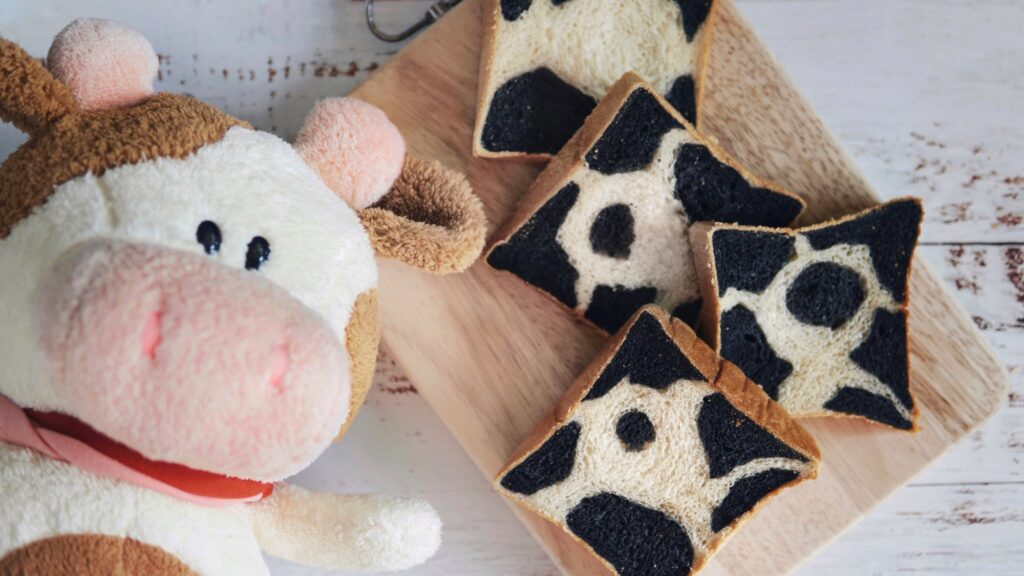
Check out my Apple-shaped buns that are filled with cinnamon stewed apples or Heart-shaped Tuna Buns too! There’s also the cow prints milk bread recipe that you can try.
IF YOU TRY OUT THIS RECIPE, I’D LOVE TO SEE HOW IT WENT! DO TAG ME OR IF YOU’RE A PRIVATE ACCOUNT, SEND ME A DM ON INSTAGRAM @THEBAKEANISTA SO I CAN HAVE A LOOK AND RE-POST!
IF YOU ENJOYED THIS RECIPE, YOU MAY WANT TO CHECK OUT MY RECIPE INDEX FOR OTHER DELICIOUS RECIPES.